Posts

Showing posts from 2021

2021 Year in review

Image
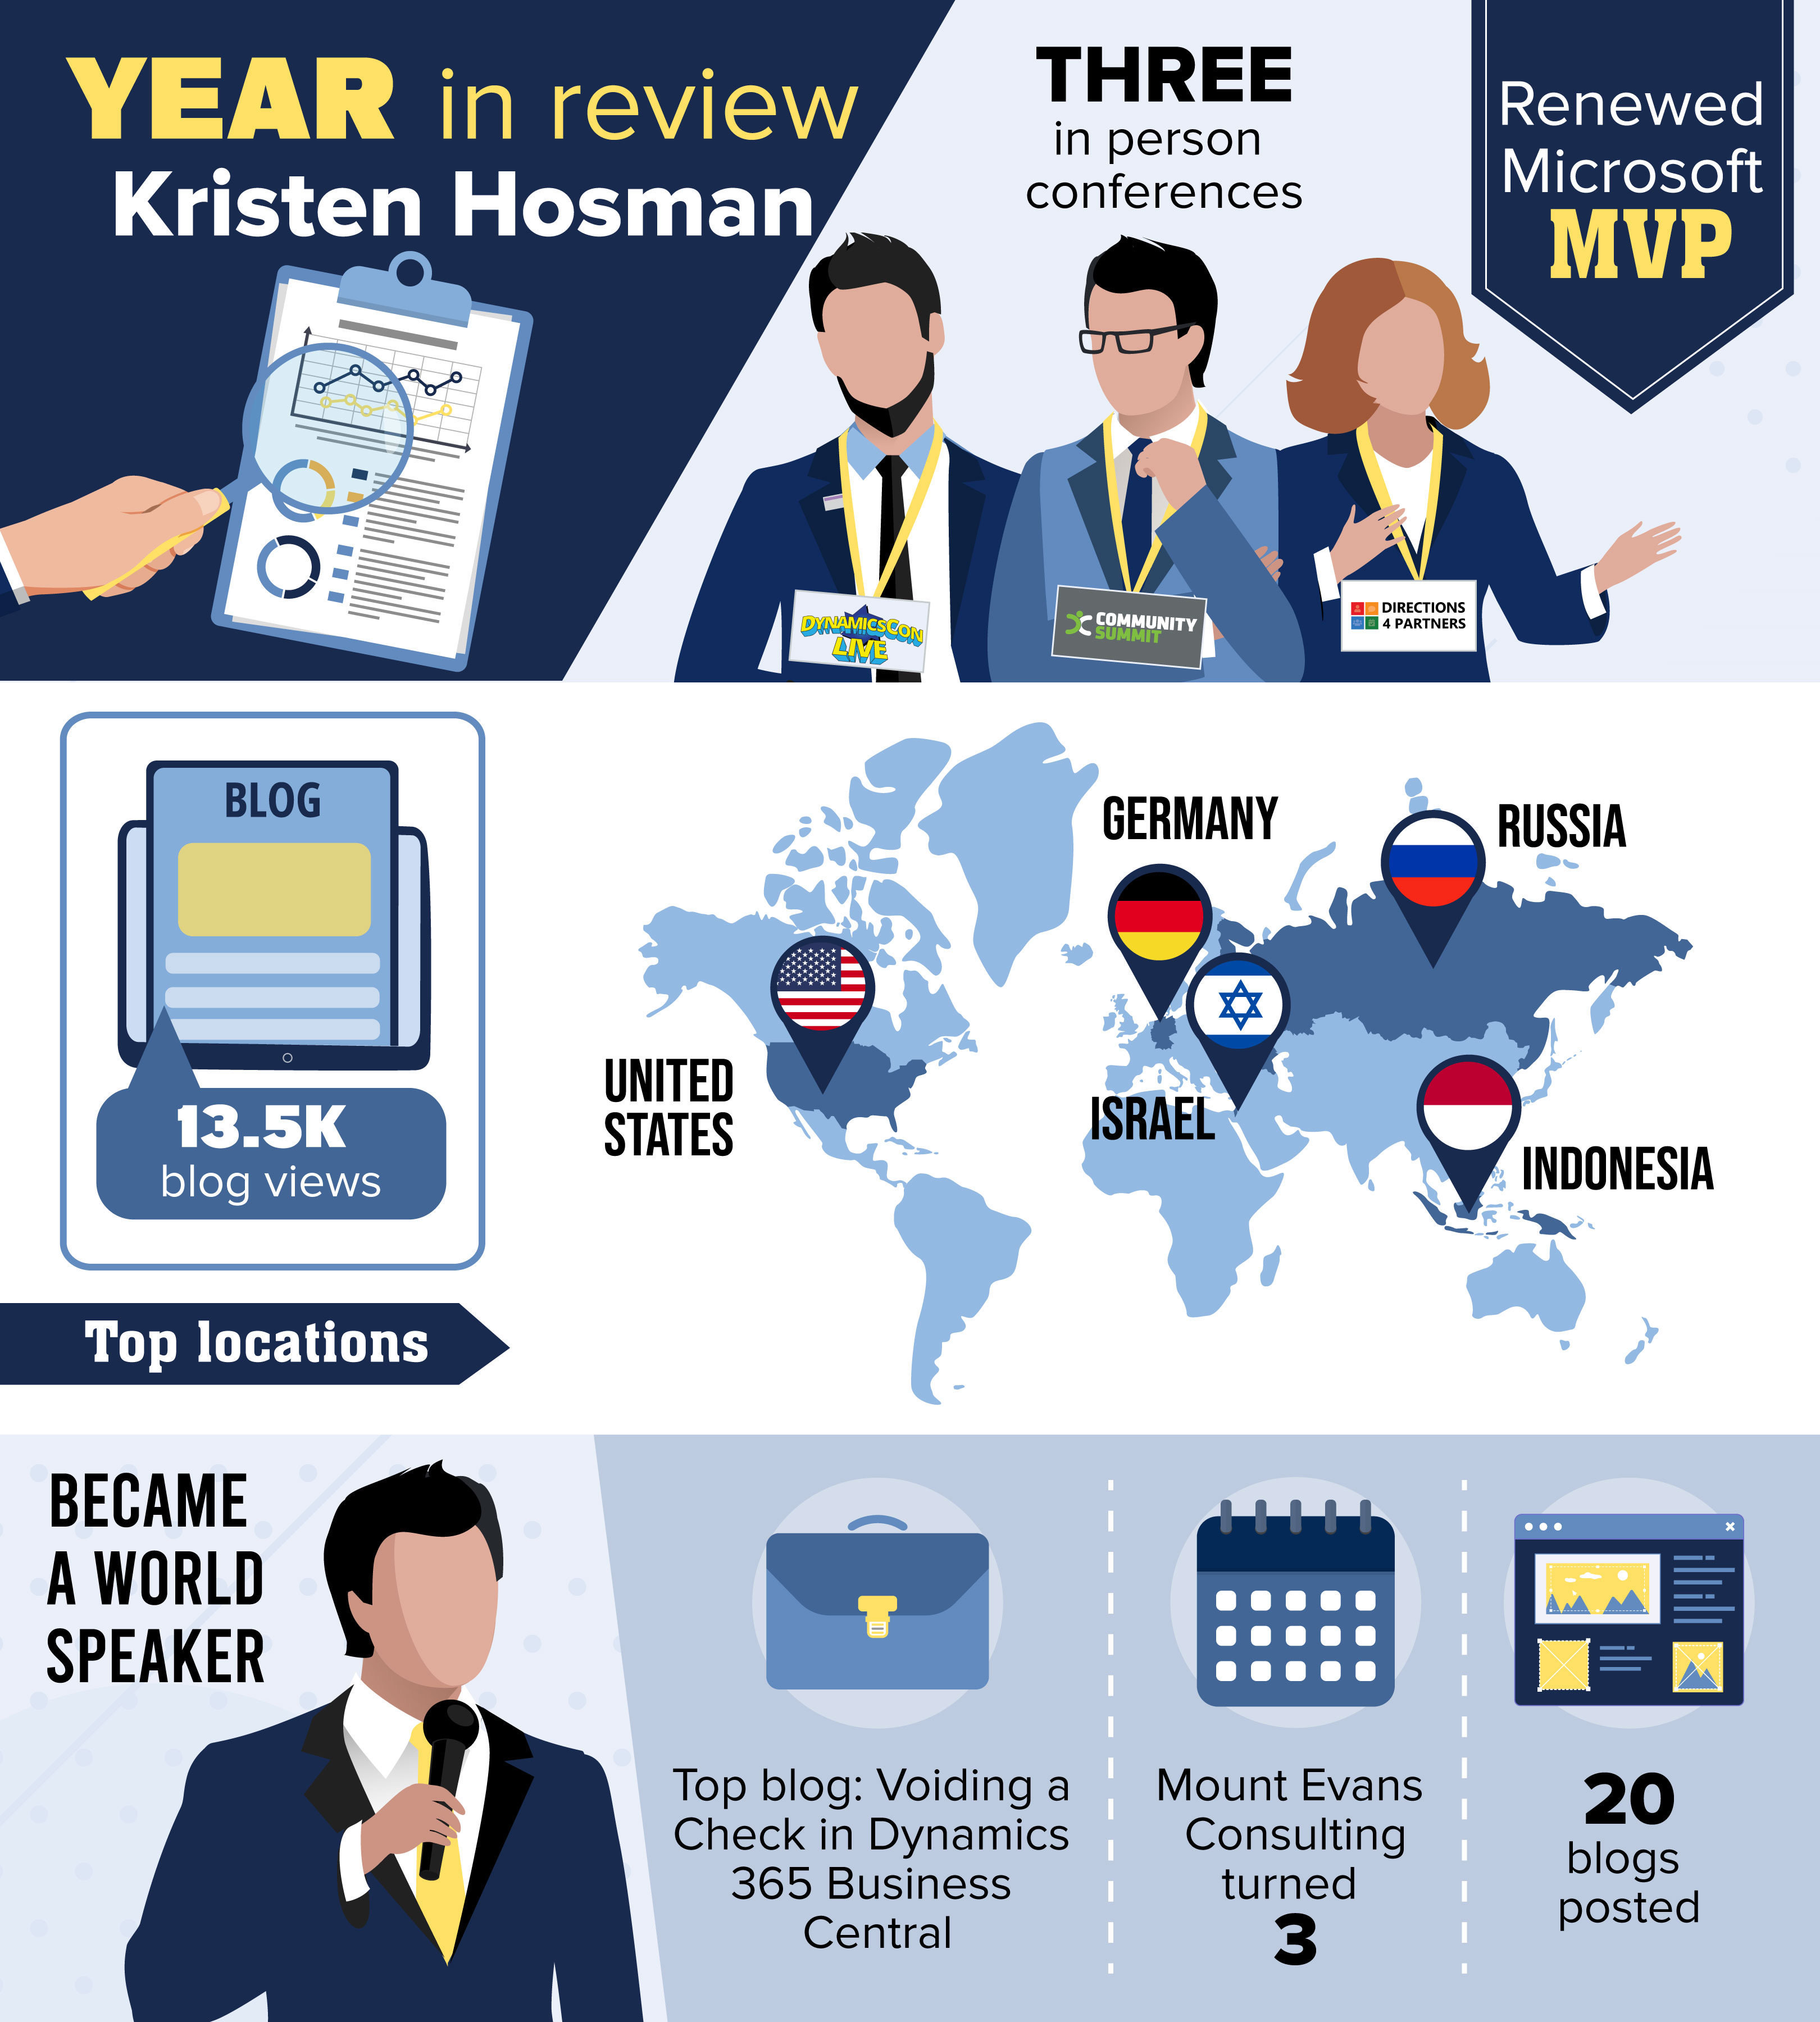
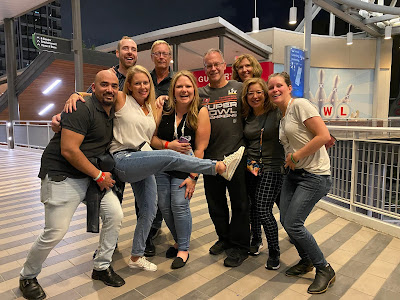
Thoughts As I reflect back on this past year, I am grateful for the amazing #MSDyn365BC community of developers, consultants, and users that I have been able to work with. I am grateful for live events: the hugs, the celebrations of amazing accomplishments, and the breakthroughs. And I'm even more excited about the year before us! Here are my goals for 2022 and my year in review for 2021.  Goals for 2022: Continue helping the #MSDyn365BC community via blogging and speaking at conferences. Continue to pave a path for other Women in Tech. Continue to mentor others in the community. Written by: Kristen Hosman, Microsoft MVP

SmartLists are in Microsoft Dynamics 365 Business Central

Image
While attending todays #BCMixItUp I was asked what my thoughts are on SmartLists in Business Central compared to Dynamics GP. I honestly didn't even know that SmartList was available yet in Business Central and you could tell by how the chat blew up that many others didn't know either. We were all searching for it. While searching for it I'm pretty sure I found a bug. If you access a list using a bookmark the SmartList button doesn't show up: In order to find SmartList on a list you need to go to Tell me what you want to do and search from there. Pretty sure this is a bug and hope Microsoft fixes it soon! Now that I know SmartLists are here I'll review and post my thoughts on it soon. Written by: Kristen Hosman, Microsoft MVP

Merge duplicate vendors or customers in Microsoft Dynamics 365 Business Central

Image
Merging duplicate master records doesn't have to be so scary. In fact, Microsoft Dynamics 365 Business Central has a great tool that makes merging vendors or customers super easy. Once you merge a vendor or customer card all the historical and open transactions are updated and merged together as well. Steps Open the vendor or customer card that you want to keep and then select Actions > Functions > Merge With.  Once the Merge Duplicate window opens, review the information in the Fields table. The information in the Current Value column is what will be the used for the vendor that is kept. If any of the information in the Alternate Value needs to be used, then you can check the Override checkbox. Notice below that I want the Payment Method Code to come over to the merged vendor.  Once you've reviewed, you're ready to merge. Simply click Merge and then Yes.  Written by: Kristen Hosman, Microsoft MVP

Bank reconciliation "North American" method in Microsoft Dynamics 365 Business Central

Image
If you're not using the Auto Match functionality to reconcile your bank accounts then you're using the "North American" method as Microsoft calls it. This blog outlines the steps to complete the bank reconciliation using this method. I will also post a blog on how to process bank reconciliation using the Auto Match functionality.  1. Search for Bank Account Reconciliations 2. Process > New 3. Select ‘CHECKING’ 4. Update the Statement Date to the date you pulled for and update the Balance on Statement to be the ending balance for that day. 5. Process > Suggest Lines 6. Both > OK 7. Proceed with checking off the items cleared bank within the ‘Checks’ and ‘Deposits/Transfers’ sections of the Bank Rec. Worksheet. 8. Once you’ve checked everything off there may be some misc items you couldn’t find to check off. Those items will need to be investigated to see why missing from Business Central. Once you’ve entered them into the system you can go back into the Bank R

Bank Reconciliation - auto match v19 Microsoft Dynamics 365 Business Central

Image
Just completed my first bank reconciliation in V19 #MSDyn365BC and there are some nice updates to the Bank Account Reconciliation if you're using auto match. 1. Transferring to General Journal now only does the transaction you have selected in the Bank Statement Lines pane. Tip: select all lines prior to transferring and then they all will come over, rather than doing one at a time. If you select all lines only those not matched will come over. 2. Once you post the General Journal and close the window the system takes you back to the Bank Acc. Reconciliation window and automatically matches the transactions just entered in the General Journal ...nice improvement and less clicks now to reconcile. Written by: Kristen Hosman, Microsoft MVP

Dynamics 365 Business Central: Bank Reconciliation Error - Statement Status 'Open'

Image
Overview I recently ran across a new error message after undoing my previous months bank reconciliation in Business Central. I use the auto match functionality and noticed that the previous months ending balance was off, so decided to undo the previous month and redo it. When I attempted to match certain transactions I received the message below.  Statement Status must be equal to 'Open' in Check Ledger Entry: Entry No.=30. Current value is 'Bank Acc. Entry Applied'. Solution After posting this error to Twitter I received a few comments on things to try and none of it worked. It wasn't until I googled the error message that I saw Tanya Henderson responded to a forum with a link to her fix. I was able to follow her instructions in this blog and was able to successfully complete the bank reconciliation with no issues. Bank Reconciliation – TESS Team Written by: Kristen Hosman, Microsoft MVP

Recap - Community Summit 2021 Houston

Image
Community Summit was held in Houston October 12-15, 2021 and it was quite different than ones in the past. Less attendees, less sessions, masks required in the sessions, however one thing remained and that's the fact there was allot of walking. Here's my short recap of my experience this year.  Presenting -  I left Colorado with only one session on the calendar and arrived in Houston on Monday mid day. While sitting in the hotel lobby I had the opportunity to chat with Steven Chinsky who informed me that a partner pulled out of the conference (that day) and wasn't going to be leading their sessions virtually, so there were now open slots in the NAV/BC track. After discussing with him some possible session ideas I had two more sessions that I was going to lead. It was very important to me that there wasn't any open rooms, after all there were so many people that traveled to Houston to attend.  Migrating from Dynamics GP to D365 Business Central – A Real-World Customer &a

Data Classification in Microsoft Dynamics 365 Business Central

Image
The General Data Protection Regulation (GDPR) was adopted in the EU in 2016, replacing an outdated Data Protection Directive that was adopted back in 1995. The law requires organizations to safeguard data within systems and if organizations are found to be out of compliance there is the potential for some fines. GDPR compliance is not optional so it's no question why Microsoft has included the ability to setup Data Classifications within Dynamics 365 Business Central.  There are many great resources on the internet for organizations to review information about GDPR but one of the best that I could find was gdpr.eu .  Lets get into how to classify information within Business Central now.  Data Classification Assisted Setup Guide If you are conducting business within the EU the system is going to know that based on the information in the master records. I received the message below in my environment letting me know that I had records associated with EU. The message read: It looks lik

Processing drop shipments in Microsoft Dynamics 365 Business Central

Image
I recently had to teach myself how to process drop shipments in Microsoft Dynamics 365 Business Central. I was familiar with how the process worked in Dynamics GP and to my surprise there is a few big differences, hence the reason for this blog.  Scenario Your customer places an order and it needs to be drop shipped from a vendor.  Sales Order Create the Sales Order as you normally would and make sure to check the box for drop shipment. This check box isn't showing out of the box so you'll have to personalize your page. TIP: use Profile (role) to personalize so it affects all users within that role and then each user won't have to personalize their own page. Once your Sales Order is created you'll move onto creating a Purchase Order. Purchase Order Start a new Purchase Order and enter in the Vendor Name first. After the Vendor Name is entered move to the Shipping and Payment section and select Ship-To = Customer address and then Customer = Customer matches Sales Order.