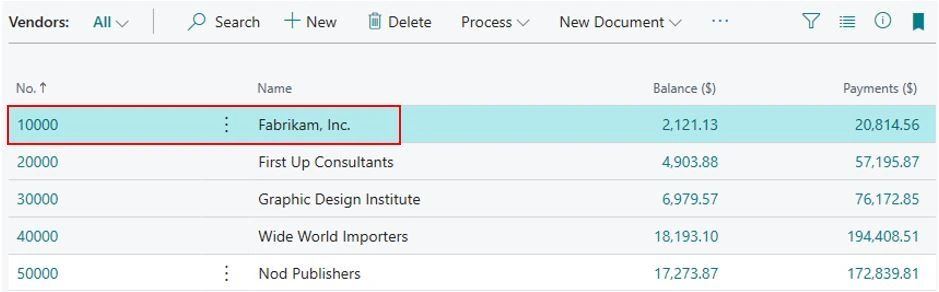
Setting up a 1099 vendor in BC is easy. Simply navigate to the vendor and open the Vendor Card.
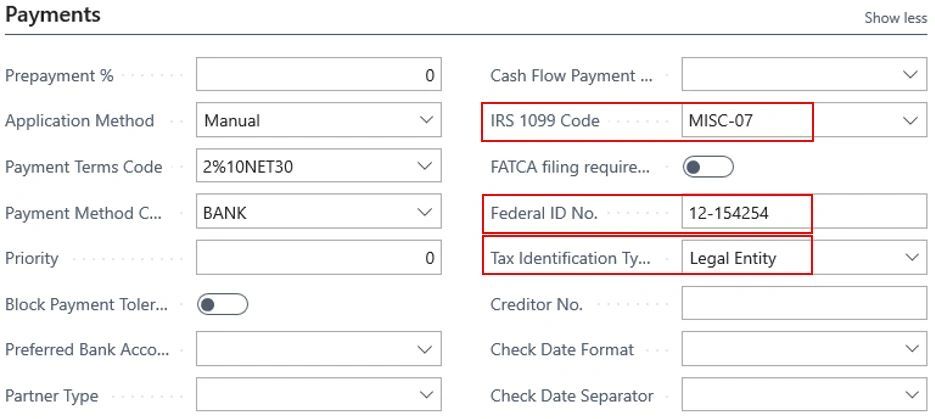
Within the Payments Fast tab select the IRS 1099 Code for the vendor and enter their Federal ID No. Selecting their Tax Identification Type is optional.
Transaction Processing
When entering transactions for the vendor (Purchase Invoice/Purchase Credit Memo) the IRS 1099 Code will automatically be added to the transaction under the Shipping and Payment Fast Tab. The code may be changed to a different IRS 1099 Code or removed for this transaction if it’s not truly needed.
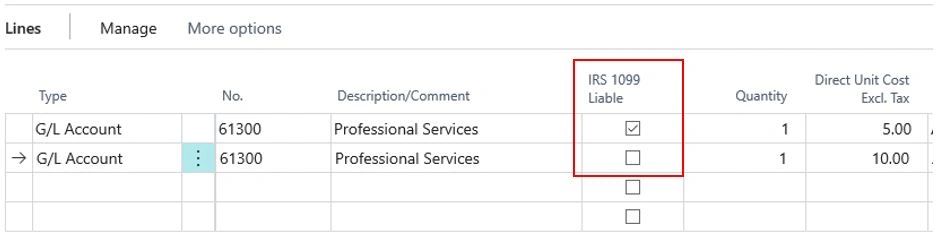
Within the lines section the IRS 1099 Liable field will be automatically checked if an IRS 1099 Code is assigned to a document. If the line item is not 1099 liable you can simply uncheck this field.
Once the transaction is posted within the Vendor Ledger Entries window you will see that the IRS 1099 Code and IRS 1099 Amount will be automatically populated.
*Note: if your payment to the vendor includes discounts the IRS 1099 Amount will not reflect the discounted amount paid. Rather it will show the full 1099 amount and the discount will be taken into account when the 1099 is printed. You will see this in my screenshots later.
Review
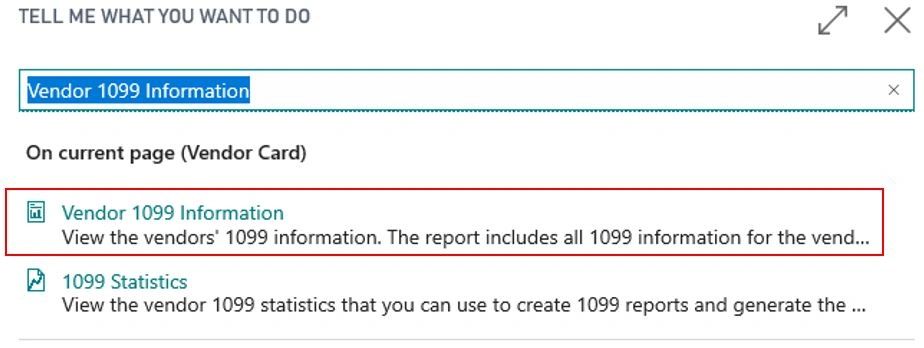
Vendor 1099 Information
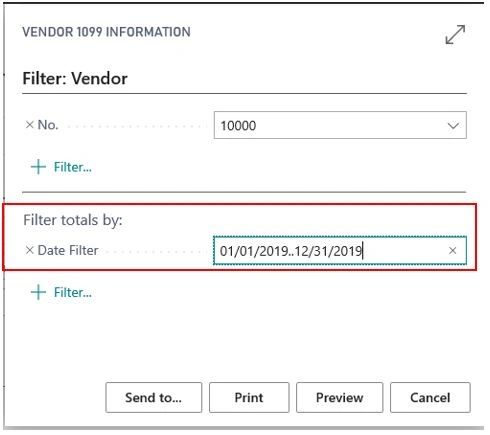
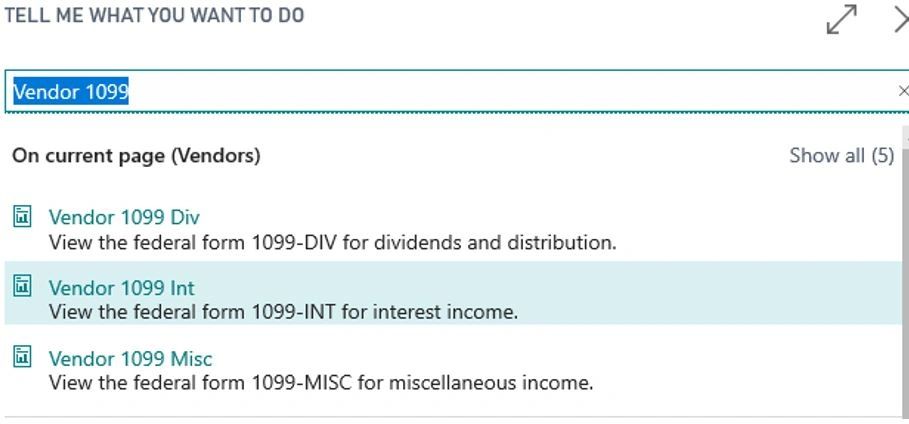
To review the 1099 vendor amounts you can use the Vendor 1099 Information report. Search for Vendor 1099 Information from the ‘Tell Me What You Want Me To Do’ search
Once you have the Vendor 1099 Information window open you can filter by a specific vendor number (optional) and a date (required).
1099 Statistics
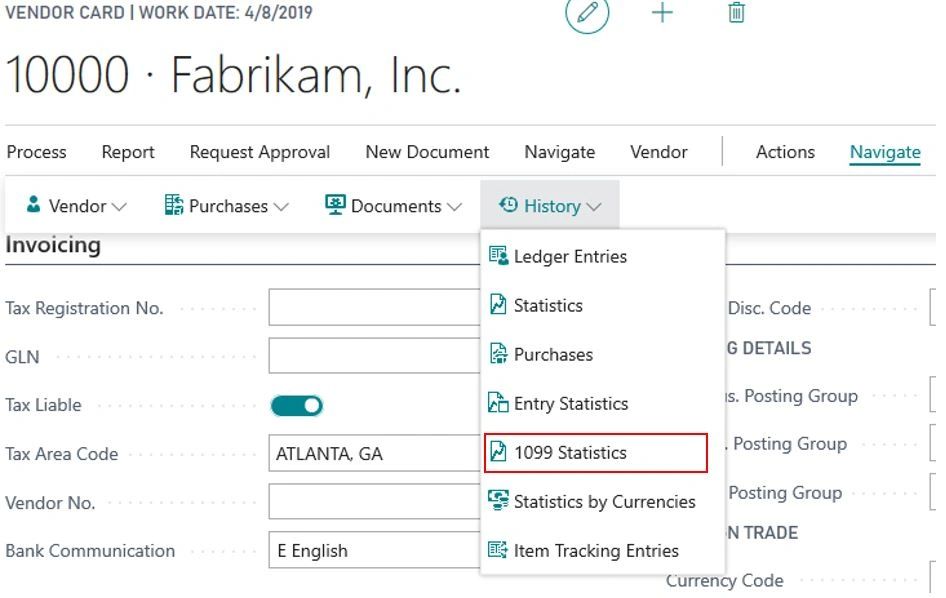
Another way to review the vendors 1099 information is by reviewing the 1099 Statistics window. Vendor Card > Navigate > History > 1099 Statistics
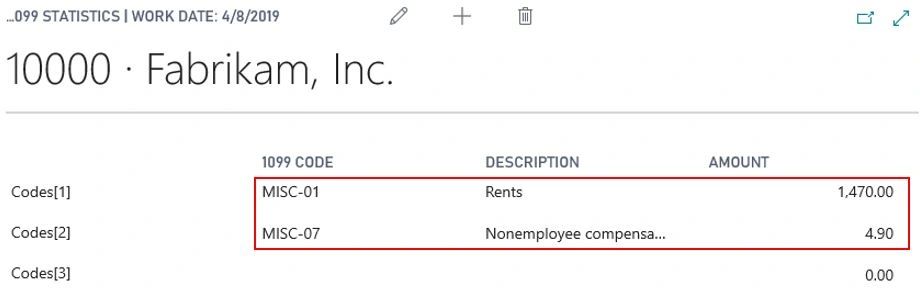
The 1099 Statistics window offers an overview of the unique 1099 Codes and amounts for the vendor selected.
1099 Corrections
Corrections to vendor 1099 amounts can be done within the Vendor ledger entries window. Within this window you can review the list of invoices and assign the IRS 1099 Code and amount. Click on the ‘Edit List’ option to modify any of the 1099 Amounts or IRS Codes.
Printing 1099’s
The 1099 reports are separated by 1099 categories, so you’ll need to process each on separately.
· Vendor 1099 Div – dividends and distributions
· Vendor 1099 Int – interest income
· Vendor 1099 Misc – miscellaneous income
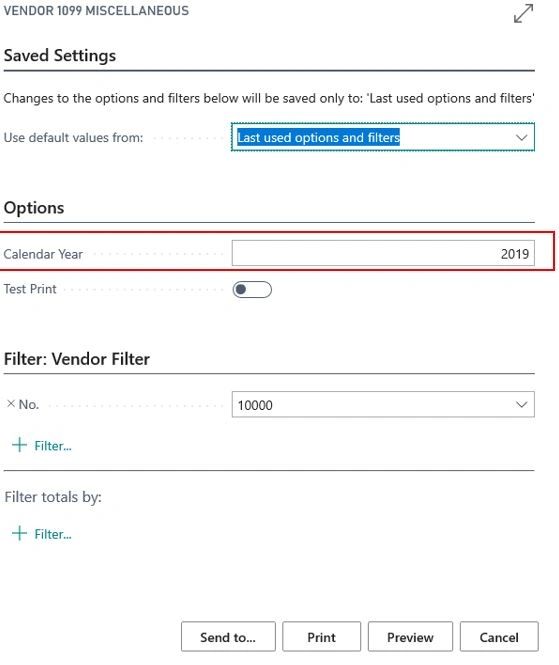
Once you have report options window open enter in the Calendar Year (required) you are processing 1099’s for and you can additional filter by a specific vendor number (optional) if you wish. If you would like to run a test report you can simply toggle on the Test Print option.
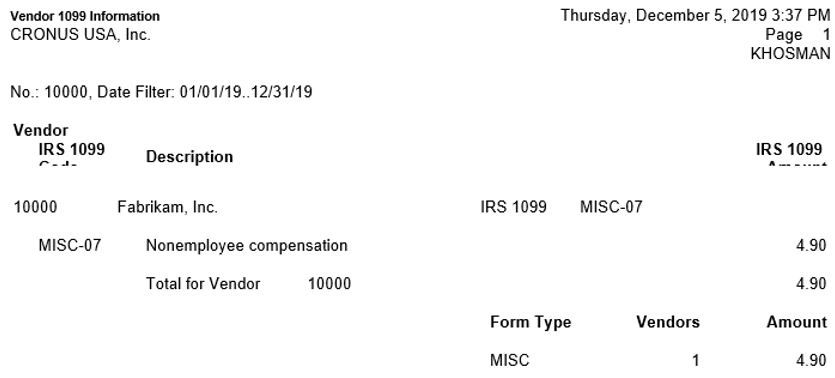
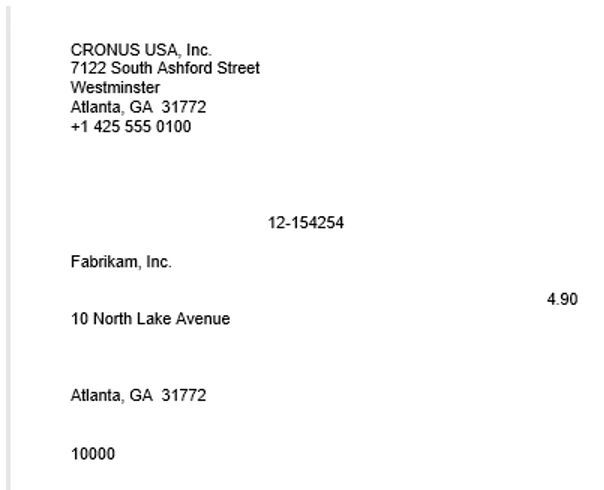
*Note: The report will not have any headers to tell you what the information means, the intention is that this would be printed on a 1099 form.
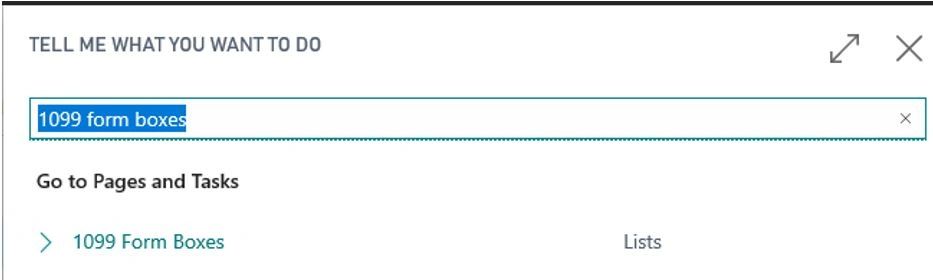
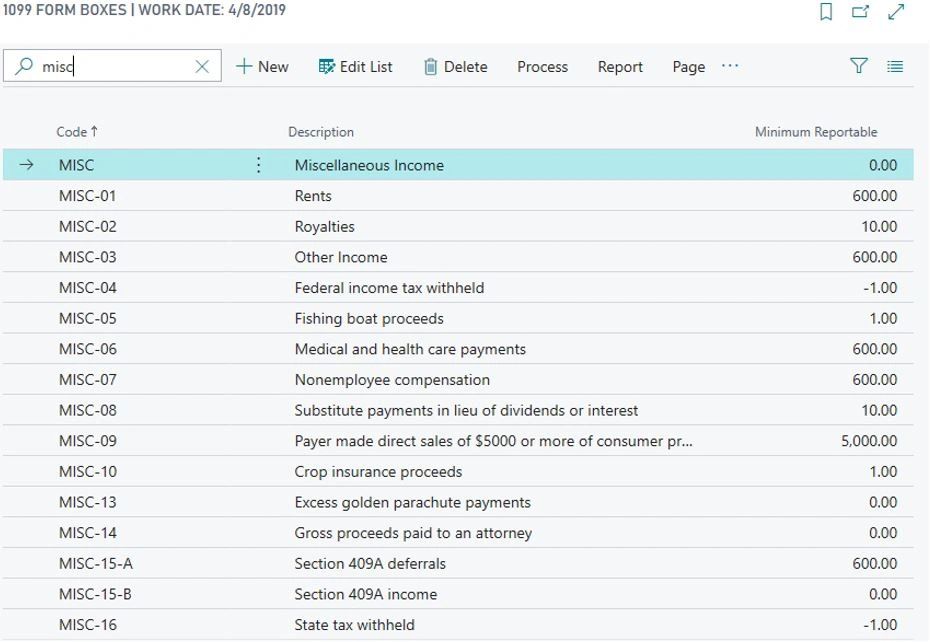
1099 Form Boxes
The 1099 Form Boxes window stores the Minimum Reportable amounts for 1099’s to be printed. The minimum reportable amount should match up to the IRS threshold on amounts of money that needs to be paid to a vendor in order for the vendor’s income to be reported.
In the 1099 Form Boxes window you will find the 1099 codes and their minimum reportable amounts. Click on the ‘Edit List’ option to modify any of the amounts.
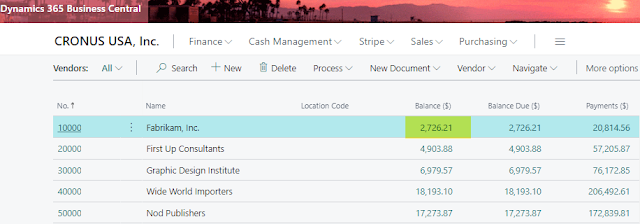
Applying posted credit memos to posted invoices isn't a hard task to complete in Microsoft Dynamics 365 Business Central. The example I use below is for a vendor credit, but the same process applies to customers. Version: US Business Central 20.0 Open up the vendors list. Search for vendor that you'd like to apply the credit memo to an invoice for. Click on Balance field to open up Vendor Ledger Entries window. This will show all the 'open' documents on the vendor ledger. Select the line for the Credit Memo that you want to apply to a posted invoice. Click Process > Apply Entries Within the Edit - Apply Vendor Entries window select the line(s) that you'd like the credit memo applied to. Click Process > Set Applies-to ID This will put the users name into the Applies-to ID field on the line selected. To post the application select Process > Post Application. Written by: Kristen Hosman, Microsoft MVP
Steps to reverse a bank account transaction or customer payment in this case. Have you ever entered a customer payment and needed to void it out of the system? If so, this blog is for you! Follow the steps below to learn how to unapply a payment and void/reverse the payment. These steps will void the payment and the invoice will remaining outstanding when completed. Open the Bank Account Ledger Entries window and select the line for the transaction in question. ctrl+alt+Q on keyboard to open the Find entries page, or click on find entries on the Action Bar. Click on the Detailed Cust. Ledg. Entry line Select a line that has 'Application' as the Entry Type and then Unapply Entries on the Action Bar Click Unapply Yes OK Close windows until you get back to the Bank Account Ledger Entries page. Select transaction and then Reverse Transaction from the Action Bar. Reverse Yes OK Written by: Kristen Hosman, Microsoft MVP
Three-Way matching is an Accounts Payable process that is used to verify a vendors invoice by checking it against its corresponding purchase order and receipt. Three-Way Matching Concept Purchase order - authorizes a purchase. Typically an itemized list of types, quantities, and prices of an order as agreed to by the buyer and supplier. The PO has a unique number to associate this order and should be used by the supplier for tracking and invoicing purposes. Delivery receipt - confirms that the items on the purchase order were delivered. Typically completed by someone in the warehouse. Vendor invoice - lists how much the buyer owes the supplier. Should match the agreed upon purchase order and items received. Three-Way Matching Process Typically this process is handled by an Accounts Payable (AP) user. Vendor invoice is sent to AP and that person verifies the delivery receipt in the system prior to entering the invoice. I will go through the basics of this process. Purchase order is issu...


Comments