Personalizing Screens In Dynamics 365 Business Central
Originally posted on August 7, 2019
Are you looking to "personalize" or modify a window in Dynamics 365 Business Central? Did you know Business Central allows users to personalize their screens within the application?
Lets take the customers window for example, your layout is the list option and you'd like to remove or add a field. Out of the box (OOTB) I find there's too much information being displayed so the first thing I show users during an implementation is how to personalize their screens.
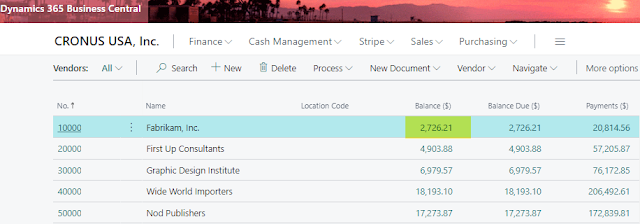
Screen shot below shows what the window looks like OOTB. Lets remove some columns and even add some that I'd like to see.

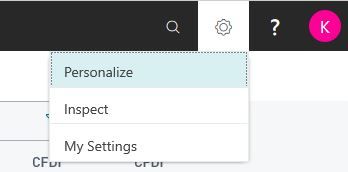
1. Click on the gear in the top right of the window, then select Personalize.

2. To add more fields to the window click on 'More'

3. To add more field to the window click on '+ Field'

4. The fields that are available to add to the page are now shown off to the right. You can simply select and drag and drop into the Customer list window. Place them where you'd like them to be. If you'd like to remove a field just hover over the field name and click on the red carrot icon and then select hide.

5. Once you've completed your personalization you can click 'Done' and your settings will be saved.
Delete User Personalization's
Now that you have your personalization's saved there may be a time where you'd like it to go back to the OOTB settings. I've also seen issues where users displays won't be correct and to fix the issue use this method.
To set the window back to OOTB settings navigate to the Delete User Personalization window.

You'll have to know what page number you're looking for. The simple way to find this is to review the URL when you have the Customers window open. In this case it has 'page=22' within the URL which will correspond with the next step.

Within the Delete User Personalization window find and delete out the line that corresponds to the Customers, page ID 22 for the user that needs this completed. Now the customers page will go back to the OOTB settings and you can personalize it again if needed.


Comments