Customizing Report Layouts in Microsoft Dynamics 365 Business Central
I had a client ask me if the Aged Accounts Receivable report could be modified a bit since he was having to modify it manually and it was taking him around 6 minutes each time.
As I started discovery on what he wanted I asked him what his requirements were.
- Aged by = Document Date
- Length of Aging Periods = 45D
- Print Detail = Yes
- Print to Excel = Yes
- Include a Pivot Table with the following information:
- Customer name
- Total balance due
- Total over 45D due
- Top 3 customers
- Percentage of 45D due vs total balance due
To get started I asked him to send me a screen shot of the Aged Accounts Receivable options window to verify how he is running the report.

I also asked him to send me a copy of the Excel file with his changes in it for me to review.

Next Steps
Next step was for me to figure out if I was going to have a developer create a custom report or if I was brave enough to try something I've never done before. I went the brave route and started searching through Microsoft Docs for Report Layouts and how to customize Excel reports. I had heard about the functionality but never tried it myself. This seemed like the perfect time to give it a go.
Solution
I created a custom Excel report for Aged Accounts Receivable report layout 10040. Here are the steps I took to complete this.
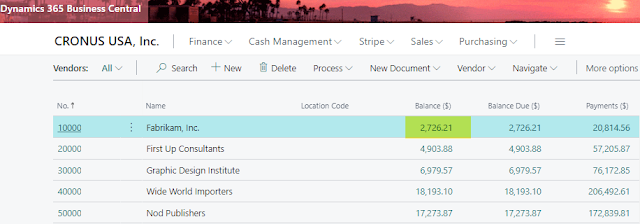
- Ran the Aged Accounts Receivable report
- Updated the Options to what the client wanted
- Aged by = Document Date
- Length of Aging Periods = 45D
- Print Detail = Yes
- Send to...Microsoft Excel Document (data only)
- Navigate to the Report Layouts window and search for Report ID 10040. The report in the screenshot below is the out of the box report.
- Within the Report Layouts window click on New Layout on the menu and confirm the Report ID is 10040. Add a Layout Name and Description and decide if you want the new report Available in All Companies. In my case I'm going keep the Format Options as Excel and turn off the Available in All Companies.
- Choose Excel layout file - this is going to be the file from step 1.2 above.
- Next step is important...don't start modifying the Excel file from step 1.2 but rather Export Layout from the Report Layouts window for the new custom Report ID that was just setup. This is the step that I wasn't aware of when I was working on this and I got hung up on a corrupted file and Erik Hougaard was so kind to help me out. The only way to explain why you do this is the Data tab within the Excel file will be empty if you Export Layout rather than using the file from step 1.2 above.
- Next step is to open the file that was just downloaded from previous step.
- Create a new tab and rename it Pivot Table
- Insert > Pivot Table > from table or range. Update the Table/Range field with the Data tab
- Within the PivotTable Fields area I added the following:
- Customer_Name = Rows
- Added a calculated field for total balance due
- Added a calculated field for total over 45D due
- Formatted the two columns I just added so that the numbers were how I wanted to see them.
- Sorted the Over 45D column largest to smallest.
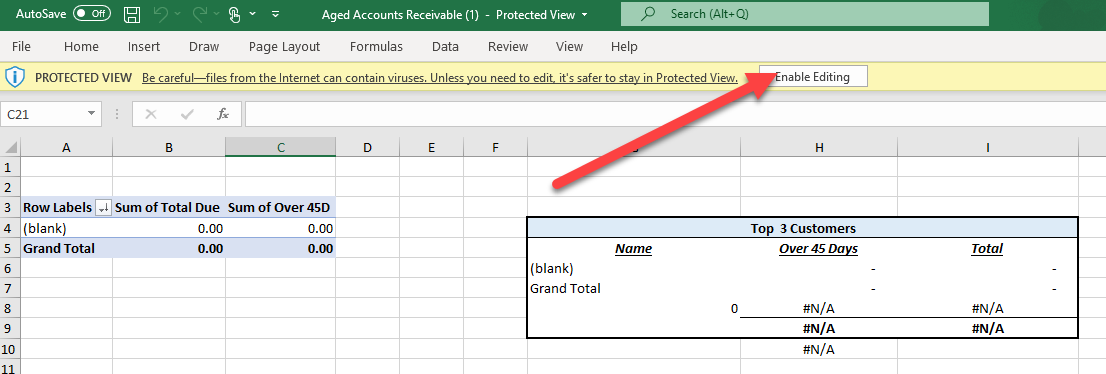
- Added Top 3 customers and percentage of 45D due vs total balance due. This is what my Pivot Table page looks like.
- Save the Excel file.
- Back in Business Central > Report Layouts > Report ID
- Replace Layout - select the file you just saved in step 7.
- You can now test the new layout. Within the Report Layouts window select the new Report ID and click on Run Report within the menu. Verify that all the options are as desired.
- Click Download
- When Excel opens it will open in Protected View, go ahead and click on Enable Editing in the yellow notification bar.
- You should have a beautiful report now that you just built. Best part is that no developer was needed!
- Last step in Business Central once you have the report working the way you want it to is to make the report the default report for the company you're working in. Within the Report Layouts window click on Set Default.


Next time you go to run the Aged Accounts Receivable report you'll have a new custom report with a Pivot Table.
Microsoft Dynamics 365 Business Central version 20.1
Written by: Kristen Hosman, Microsoft MVP


Comments